fcsr
Study Spectroscopy and Build a Raspberry PI Spectroscope
In this project we will start by studying the science of Spectroscopy and use your Computing skills to see it for yourself! To do this, we wiil build a Raspberry PI Spectroscope to measure emission spectra of the Sun and other elements! The build instructions are as follows. I will assign specific raspberry PI’s for you to use during your build.
-
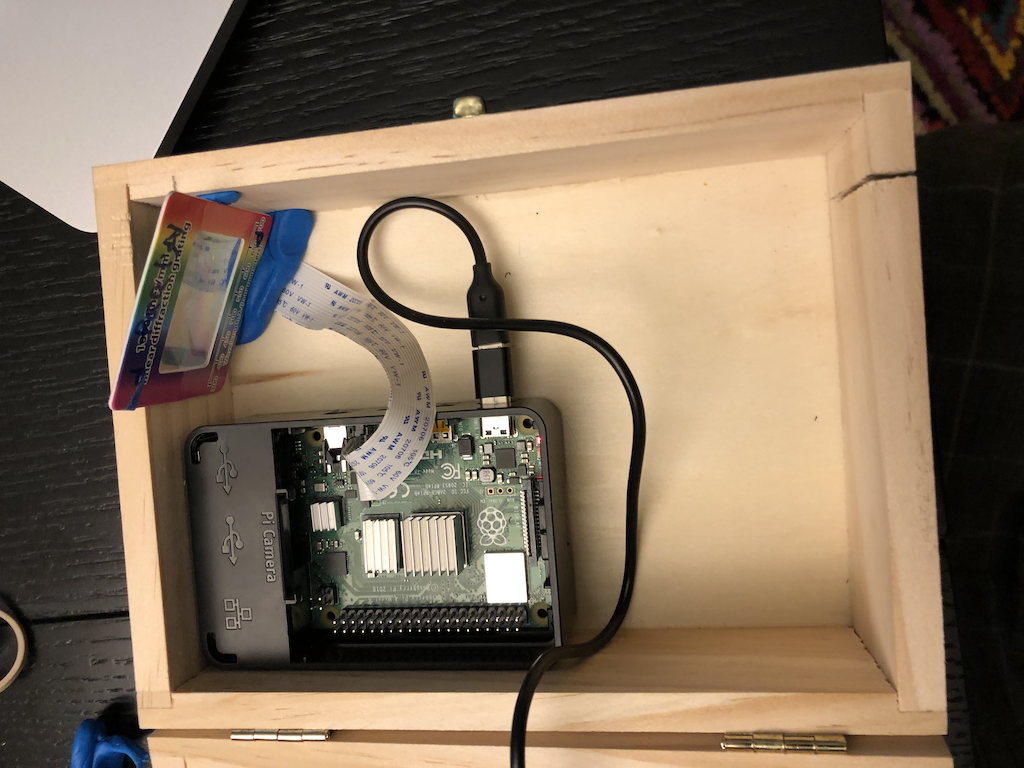
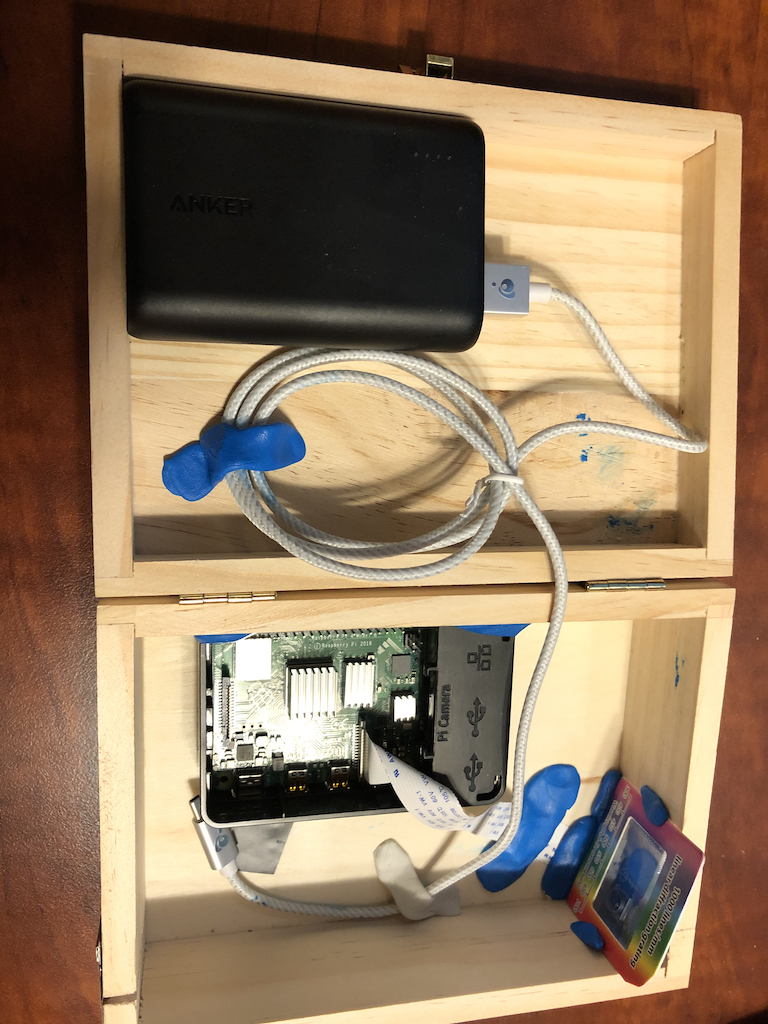
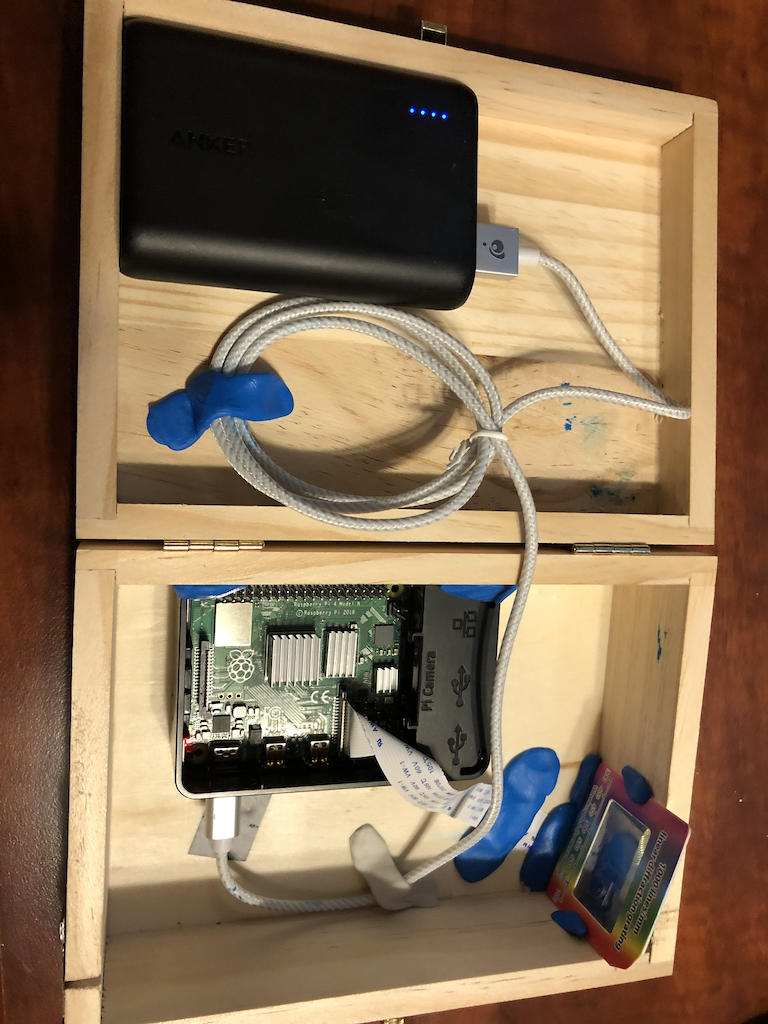
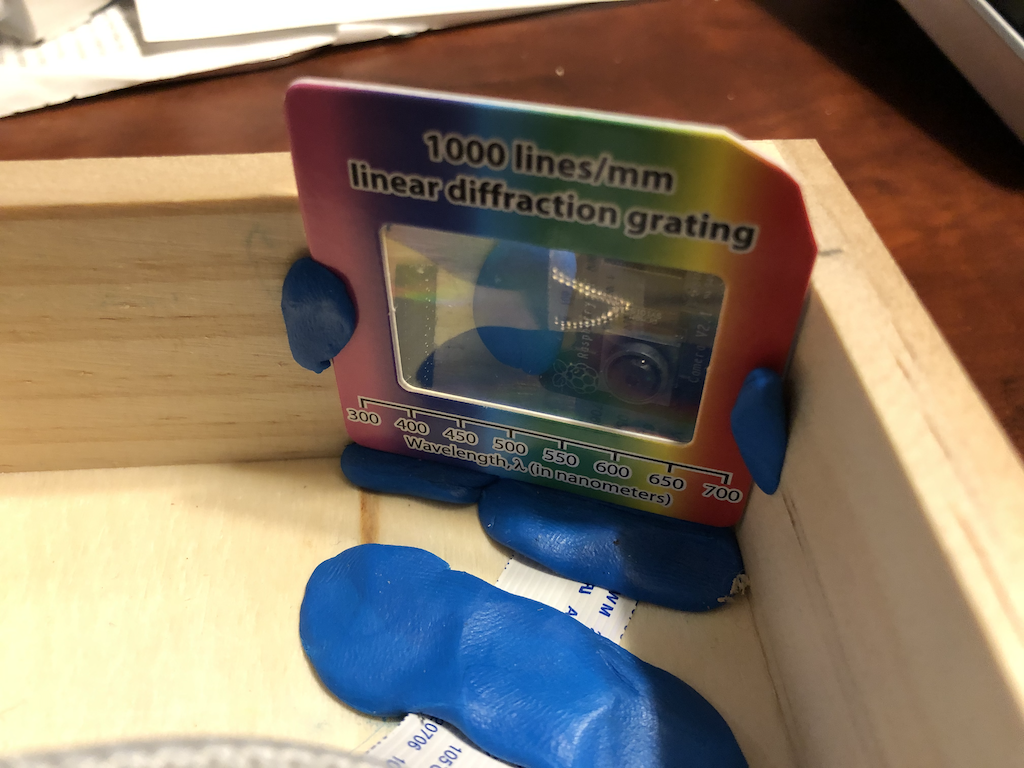
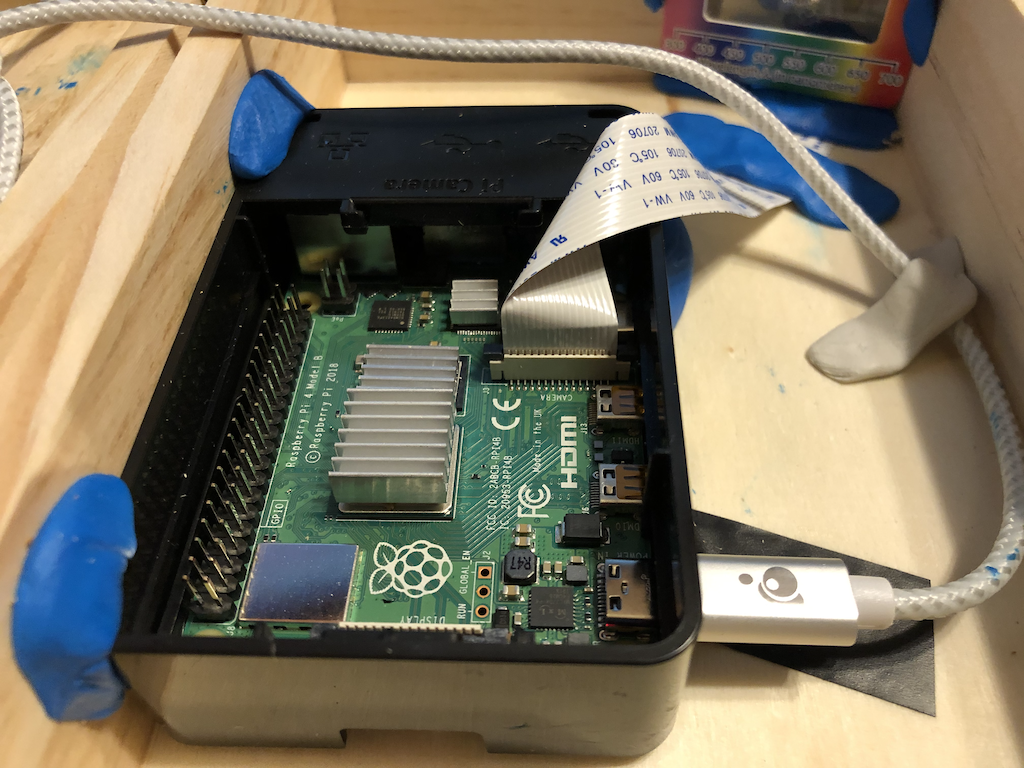
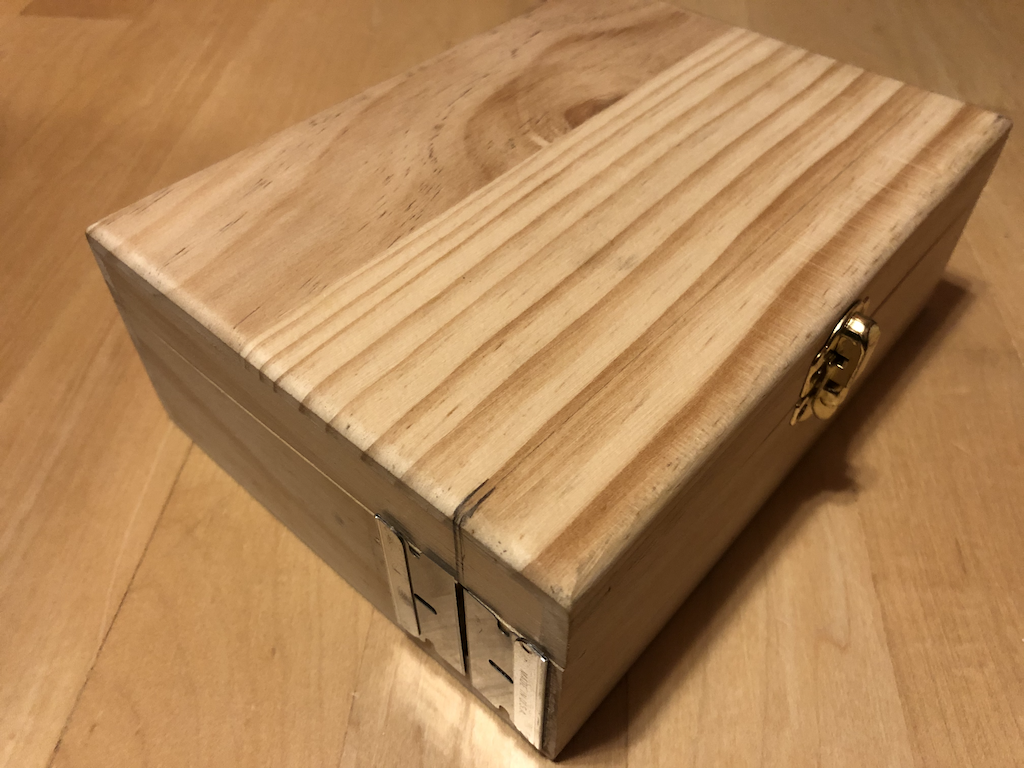
Use this document and following pictures as a guide for your build. Please use the play doh provided to complete your build. Note the light path via the slit and the oruenation of the rPI and betteries with regard to the slit.
Right-Click on each item and save link asto download these 10 files to your Downloads folder on your own laptop.-
Then
Drag & Dropthese 10 files from your laptop to your own student folder on your spectroscope’s raspberry pi -
We will now test the proper functioning of the camera, it’s orientation and flipped configuration. To do this, we will
Double Clickon thetest_camera.ipynbto run the Jupyter notebook on the spectroscope you built. We will make adjustments as necessary to the code. Follow Chandru’s walkthrough for this step. - Finally, we will
Double Clickon thebdsprojv5.ipynbto run the Jupyter notebook on the spectroscope you built. Please remember that only one person at a time can run their own version of the Jupyter Notebook. Carefully read instructions before you run each cell of the notebook. Chandru will walkthrough this notebook in class before you attempt to do so!